


Ever see those pictures where the stars streak across the sky in a big arc? or maybe the whole sky looked like it was spinning? What you saw was start trails. The streaks were light left behind on the sensor or film from the star as it traveled across the sky in front of an open camera shutter. In fact, what are being recorded are stationary stars and the rotation of the earth spins past them. For me, the images seem to have a certain magic or mystery about them. You must have heard a photographer talking about capturing that perfect moment in time. Well for capturing star trails you will need to capture the perfect hour or two in time. For such amazing looking images the technique to capture them is really quite simple. Keep reading for a complete set of instructions from start to finish.
What do I need?
Before you gas up the car and head out in to the night check the list below to make sure you have all the required gear.
- A camera capable of shooting in “Bulb” mode
- A sturdy tripod
- A cable release *it can be done with a remote but options will be very limited
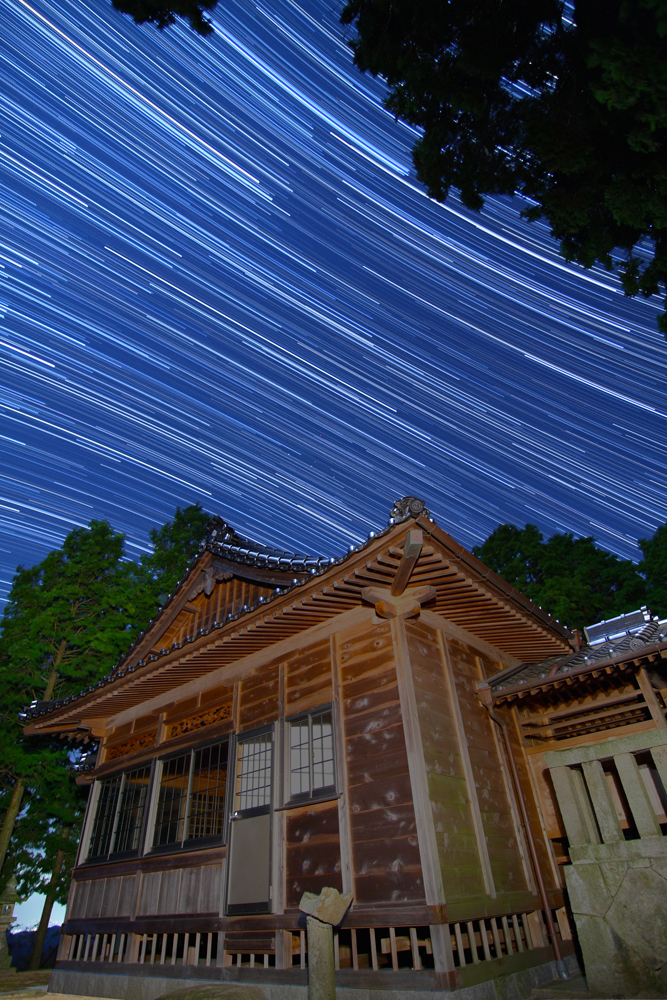 |
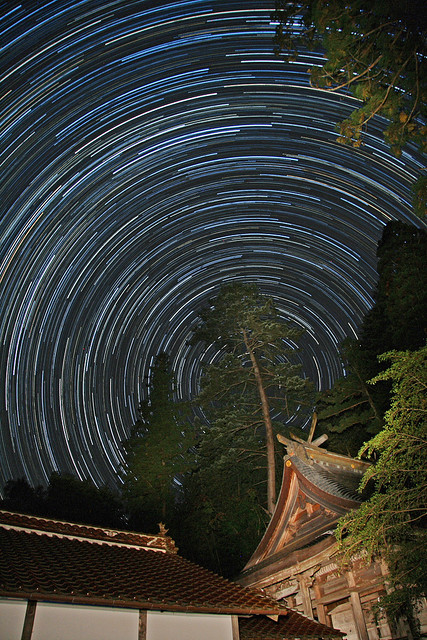
| A temple for foreground interest. |
I tend to look for locations that are have some foreground interest. It may be an abandoned building, large infrastructure like a radio tower or a bridge, or some natural features like rock formations or big trees. You may choose to add light to these features with a flashlight or keep them as silhouettes against the star filled sky. Though it is possible to capture star trails in town it is much easier if you try this far away from any city lights. A darker sky means you can crank up your ISO and open up your lens really wide and capture a greater number of visible stars. City lights that are not even visible to the naked eye will show up over a long exposure so when you think you have finally found some dark skies keep on driving! It really pays off doing some research before embarking on a shoot especially if you have never seen the location in the day before.
There are multiple ways to go about shooting star trails. I will start with the basics that do not change whether you are using an analogue SLR or a DSLR. Before dialing in any settigns you should go ahead and mount your camera onto a tripod. Roughly compose your shot and set the focus. In the dark, it is not easy to get the AF to lock on to anything but do not worry there are several solutions to this. If you are including foreground objects I suggest making sure that they are in focus. If you are using a wide angle lens the foreground object and the stars will probably both be in focus even at a very wide aperture. I find that it is fairly safe to just set the focus to infinity if it is a wide angle or fisheye lens right from the start. Some lenses will not have those
markings so shining the light on the foreground subject while using the AF function may work if the flashlight is bright. If not go lay the flashlight on the ground at the base of what you are shooting and focus on that. Once you have achieved the glorious state of “in focus” be sure to set it to MF or manual focus before starting your exposure or it will start searching again when you start the exposure and you will lose your focus. So now you should have your camera focused and set to manual focus(MF) and the shot roughly composed. When composing the shot try not to include any direct light sources, like streetlights, in the shot. If you are not using film then I suggest doing a test shot which aids in composing your final shot. A 2-3 minute exposure at high ISO and wide aperture is enough to be able to see which direction the stars are moving and allow one to imagine what the final shot will look like. Recompose the shot if necessary and zoom in on the LCD to double check you focus is accurate.
 |
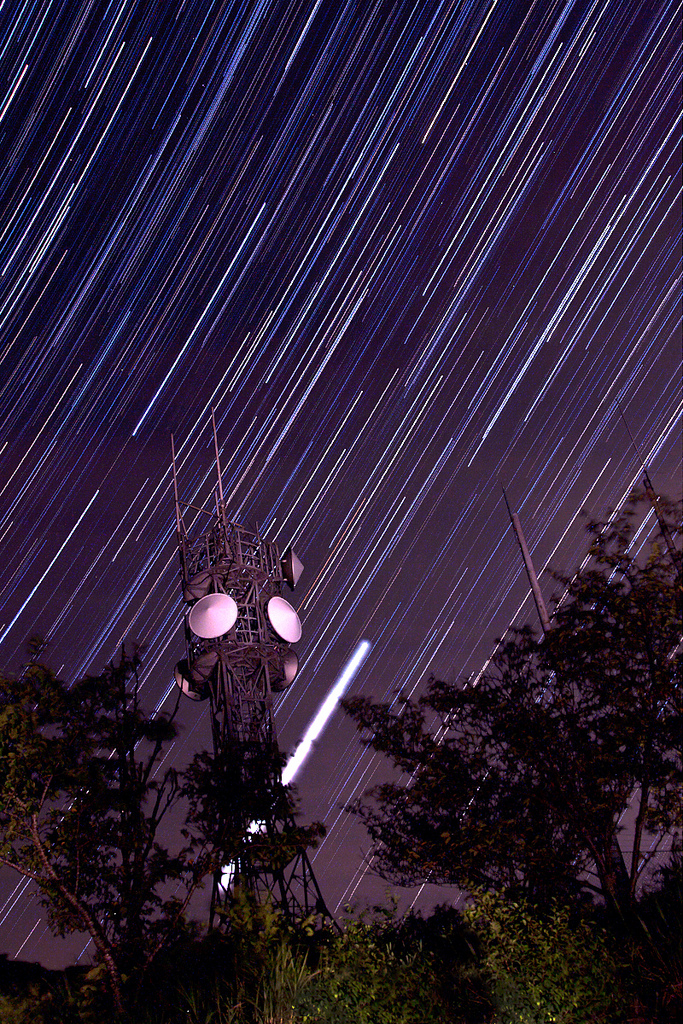
| White balance set to 10000 Kelvin |
 |
| Single exposure, xenon flashlight used on foreground |
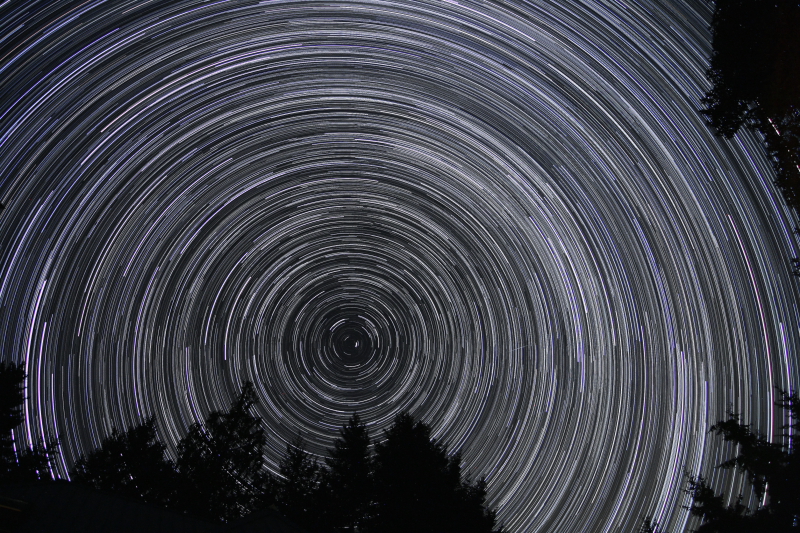
For shooting options, one could choose to do it all in one shot or shoot multiple shots and “stack” them after using computer software. I personally find that shooting multiple images and stacking them yields much nicer images than those done all in one shot. If you are going to do it all in one shot then your biggest concern should be noise. To avoid noise, one could use a narrower aperture and a lower ISO speed but these settings will typically not pick up very many stars. If this is the route you are going to take, and I suggest at least trying it, then focus and compose the shot. Set the time value to “bulb”, the aperture to its widest, and with and ISO at 200, try for a 30-minute exposure with a wide aperture of 3.5 - 4.0. If there is too much noise then drop the ISO to 100 and either shorten the exposure time or try a narrower aperture. If shooting this way is your only option, there is something that you can do to increase the appearance of the length of the trails in the frame that will be limited due to the short exposure time. The actual length of the trails is determined solely by time but the appearance of the trail length is determined by the focal length you are shooting at. For example, stars over a 30-minute exposure would appear much longer in the frame at 50mm than they would at 15mm. If you find that you are limited to shorter exposure time due to noise, or any other factor, try shooting at a longer focal length to increase the appearance of the star trail length in relation to the frame. See my article here that explains focal length and relative star trail length.
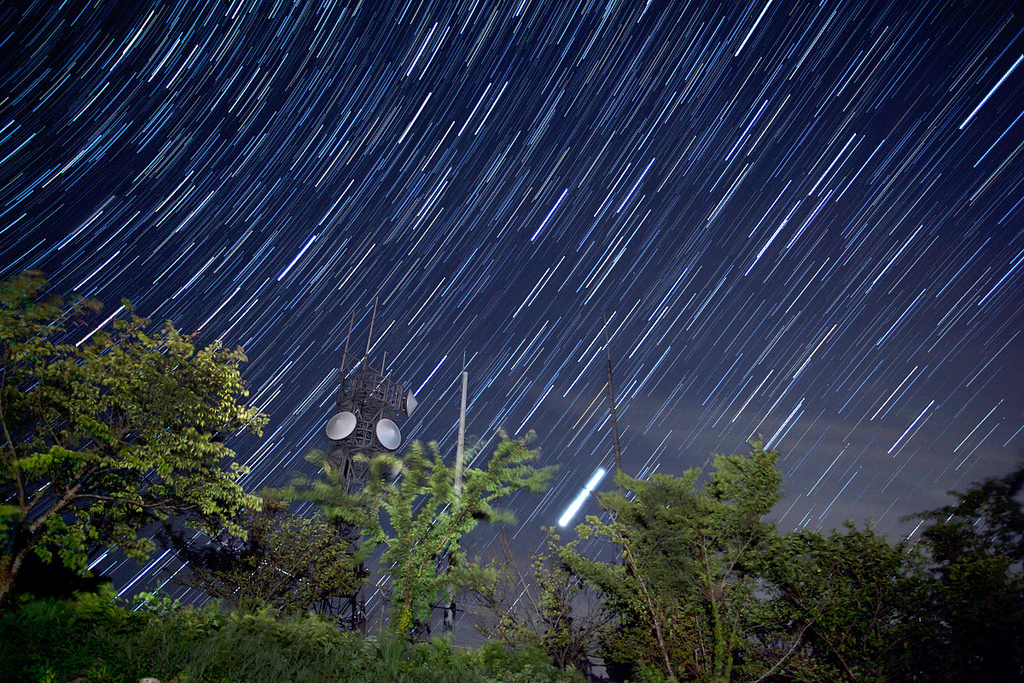 |
| same image as single exp. above but this one is stacked |
My heavily preferred way of shooting is shooting multiple shots and stacking them later using computer software. Shooting this way means one can shoot with a wide aperture and a faster ISO that will pick up many more stars than the previous method. One can do this because noise becomes much less of a factor. Noise generally increases with time so you only have to worry about 30 seconds that means even at ISO 800 it is not really going to cause a problem. There is even an option to include dark frames, which are frames shot with the lens cap on, so that even the tiny bit of noise from ISO 800 over 30 seconds will be removed. With the higher end DSLR’s and the improvement of sensor noise reduction in newer DSLRs means that the ISO can be bumped even higher which will result in even more visible stars streaking across the sky. You will need to find the balance for your camera based on how it handles noise. For this method it is necessary to use a cable release. It could be done with a remote but then I would recommend shooting much longer exposures than 30 seconds and stacking those. You will be shooting possibly hundreds of images so it is important to make sure there is plenty of space on your memory card. To get started, set your focus and compose your shot. Set the aperture to its widest and the ISO to 800 for starters. Dial in 30 seconds for the time value and the drive mode to “continuous shooting” mode which allows for non-stop shooting when the cable release is locked. I suggest doing a test shot first to see if everything looks all right before locking that release. If anything is too bright then dial the ISO down. Once you have taken the shots you will need to stack them using software.
 |
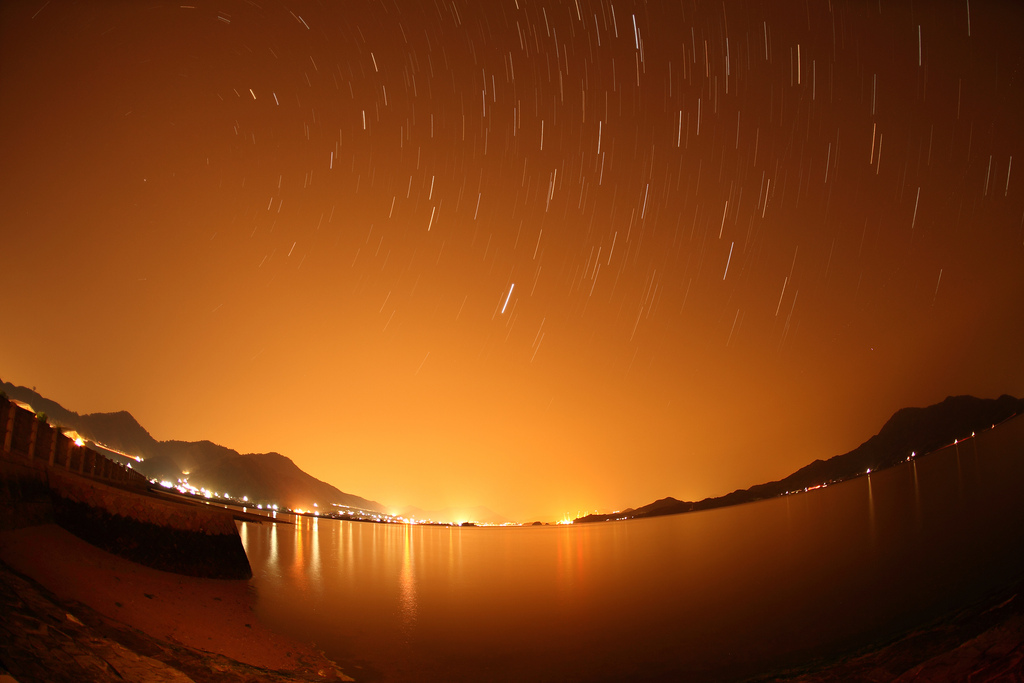
| foreground lit with xenon flashlight |
StarStaX
- This is my favorite software. Unlike other free programs, it runs on Mac and Linux as well as Windows. What I like about StarStaX is the incredible speed. It is waaaay faster than using Photoshop and much easier as it does not require you to create any blank documents to get started. Open up the program and import your images. Hit start and within seconds your image is finished. Check out the homepage to see the great features it has.
- This method gets the job done but is slow and ties up memory while stacking.
- One major downfall of this software is that is only available for Windows. I used this a long time ago before I started using Mac. This got the job done and before StarStaX was a way of creating animated time lapse video of the stacks. I think this software has now become old and needs to be revamped if its author wants people to continue to use it.
Don’t miss the next tutorial by following me on Twitter


